The Best Fluffy Pancakes recipe you will fall in love with. Full of tips and tricks to help you make the best pancakes.

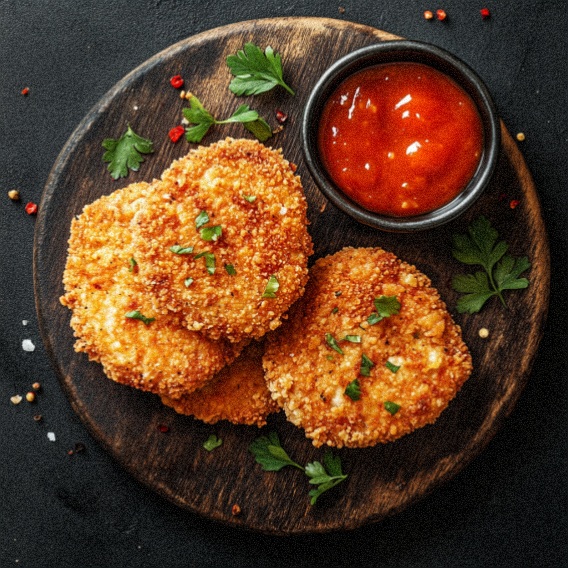
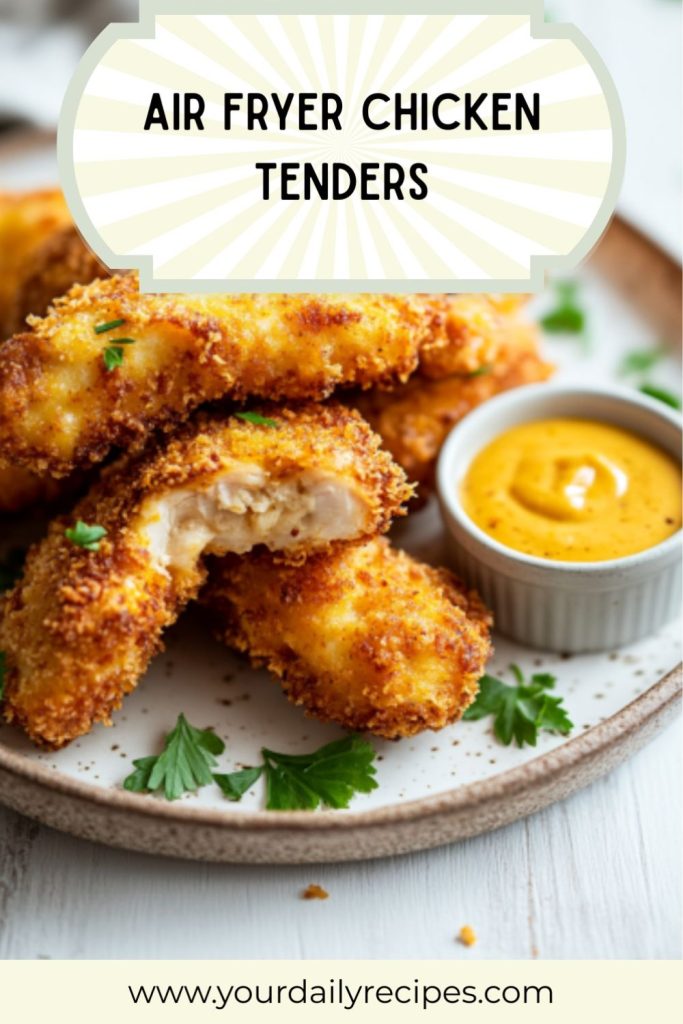
Do you remember how exciting it was as a kid to order a basket of chicken fingers at a restaurant? That golden, crunchy coating and the juicy meat inside was just the best. Well, I have good news! You can make that same amazing meal right in your own kitchen, but way healthier and with a lot less mess.
I used to dread making fried chicken because of the popping oil and the heavy clean-up. But ever since I started using my air fryer, everything has changed. This recipe gives you that super satisfying “crunch” you crave without needing a big pot of oil. The hot air swirls around the chicken to cook it perfectly evenly.
In this post, I am going to teach you how to make the crispiest, juiciest chicken tenders in under 20 minutes. Whether you need a quick dinner for yourself or a fun meal for the kids, this recipe is a total winner. Trust me, once you try these, you won’t want to buy the frozen kind ever again!
General Information
| Particulars | Details |
|---|---|
| Preparation Time | 15 min. |
| Cook Time | 12 min. |
| Total Time | 27 min. |
| Yields | 4 servings |
| Difficulty | Easy |
| Total Calories | 280 kcal (Per Serving) |
| Cuisine | American |
Why You’ll Love This Recipe
Here are just a few reasons why this recipe is about to become a favorite in your home:
- Super Crispy Without the Grease: You get that famous “fried” texture using only a tiny bit of oil spray, making it much lighter on your tummy.
- Ready in a Flash: From start to finish, you can have dinner on the table in less than 30 minutes. It is perfect for busy school nights.
- Kid-Friendly: Children absolutely love these! They are perfect for dipping in ketchup, ranch, or honey mustard.
- Pantry Staples: You probably already have the flour, eggs, and spices in your cupboard right now.
- Easy Clean-Up: Since we aren’t deep frying, you won’t have a greasy stovetop to scrub later. Just wash the basket and you are done!
Here’s What You Will Need
The magic of this recipe is in how simple ingredients come together to make something restaurant-quality. You likely have everything you need in your kitchen already to make these delicious tenders!
- Chicken Tenderloins – These are the star of the show! Tenderloins are naturally soft and cook very quickly. If you can’t find them, you can slice boneless, skinless chicken breasts into strips, but actual tenderloins stay the juiciest.
- Panko Breadcrumbs – This is the secret to the crunch. Panko crumbs are larger and airier than regular breadcrumbs. In the air fryer, they turn super golden and crispy. (If you are gluten-free, you can swap these for crushed gluten-free cornflakes or GF panko).
- All-Purpose Flour – This is the first layer of our coating. It helps the egg stick to the chicken so the breadcrumbs don’t fall off.
- Eggs – The eggs act like glue. They hold all that delicious breading onto the chicken.
- Spices (Garlic Powder, Paprika, Salt, Pepper) – Flavor is key! Mixing these spices into the flour and breadcrumbs ensures every single bite tastes amazing. Smoked paprika adds a nice “bbq” hint if you have it!
- Cooking Spray – This is very important for air frying. Since there is no bath of oil, a quick spray of oil (like olive oil or avocado oil spray) helps the breadcrumbs turn brown instead of staying white and floury.
How to Make This Dish: Step-by-Step Guide
This is the fun part where we turn plain chicken into crispy gold! We are going to set up a little assembly line to make dipping easy.
- Set Up Your Dipping Station: Get three shallow bowls ready on your counter. In the first bowl, mix the flour with half of your salt, pepper, and garlic powder. In the second bowl, whisk the eggs until they are yellow and bubbly. In the third bowl, mix the Panko breadcrumbs with the paprika and the rest of the spices.
- Preheat Your Air Fryer: Turn your air fryer on and set it to 400°F (200°C). Let it warm up for about 3 to 5 minutes. A hot basket helps the chicken get crispy the second it touches the metal!
- Coat the Chicken: Take a chicken tender and dip it into the flour first. Shake off any extra loose powder. Next, dip it into the egg so it is fully wet. Finally, press it firmly into the breadcrumbs. Make sure the crumbs stick to all sides. Do this for all the chicken pieces.
- Place in the Basket: Place the breaded tenders in the air fryer basket in a single layer. Do not stack them on top of each other! If they are touching, the air can’t reach the sides, and they won’t get crunchy. You might need to cook in two batches if your basket is small.
- Spray and Cook: Generously spray the top of the chicken with your cooking spray. This is key to getting rid of white flour spots! Air fry for 5 to 6 minutes.
- Flip and Finish: Open the basket and carefully flip each tender over using tongs. Spray the new side with a little more oil. Cook for another 5 to 6 minutes until the chicken is golden brown and crispy.
- Check and Serve: The chicken is done when the outside is brown and the inside is white and juicy (not pink). Let them cool for 2 minutes on a rack or plate so you don’t burn your tongue, then serve!
How to Store, Reheat, and Freeze
Sometimes my eyes are bigger than my stomach, and I make too many tenders! But don’t worry, these keep very well if you handle them right.
Storage:
- Refrigerator: If you have leftovers, let them cool down completely first. Then, put them in a container with a tight lid. They will stay good in the fridge for 3 to 4 days.
- Freezer: You can freeze cooked tenders for up to 3 months. The best way to do this is to lay them flat on a baking sheet and put them in the freezer for one hour. Once they are frozen hard, move them into a freezer bag. This stops them from sticking together in one big clump.
Reheating:
- The Best Way: Please do not use the microwave! The microwave will make the breading soft and mushy. Instead, put the tenders back in the air fryer at 350°F (175°C).
- Time: Cook them for about 3 to 5 minutes. This makes the outside crispy again while warming the inside.
- Tip: Keep a close eye on them so they don’t dry out.
Variations to Try
One of the best things about this recipe is how easy it is to change the flavors. Here are 3 fun twists to try:
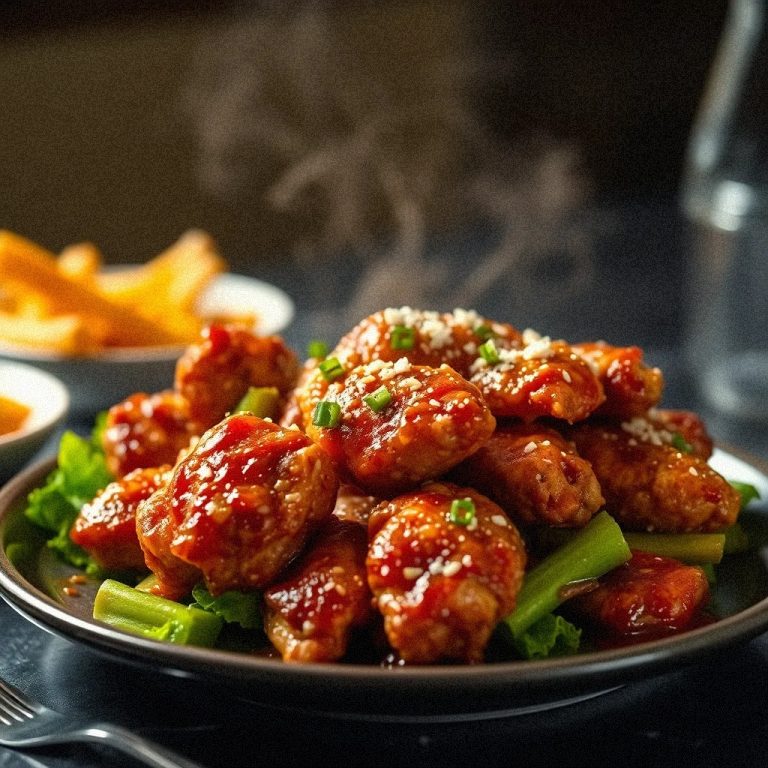
- Spicy “Buffalo” Tenders: If you like heat, add a pinch of cayenne pepper to your flour mix. Once the tenders are cooked, toss them gently in a bowl with your favorite buffalo wing sauce.
- Cheesy Garlic Parmesan: Mix ½ cup of grated Parmesan cheese into your Panko breadcrumbs before dipping the chicken. It adds a salty, cheesy crust that tastes amazing with marinara sauce.
- Gluten-Free Version: Need to skip the wheat? No problem. Swap the regular flour for a gluten-free all-purpose flour blend, and use crushed gluten-free cornflakes or gluten-free breadcrumbs instead of Panko. The cooking time stays exactly the same!
What To Serve With This Dish
These tenders are great, but they need some friends on the plate to make a full meal. Here are my favorite things to serve with them:
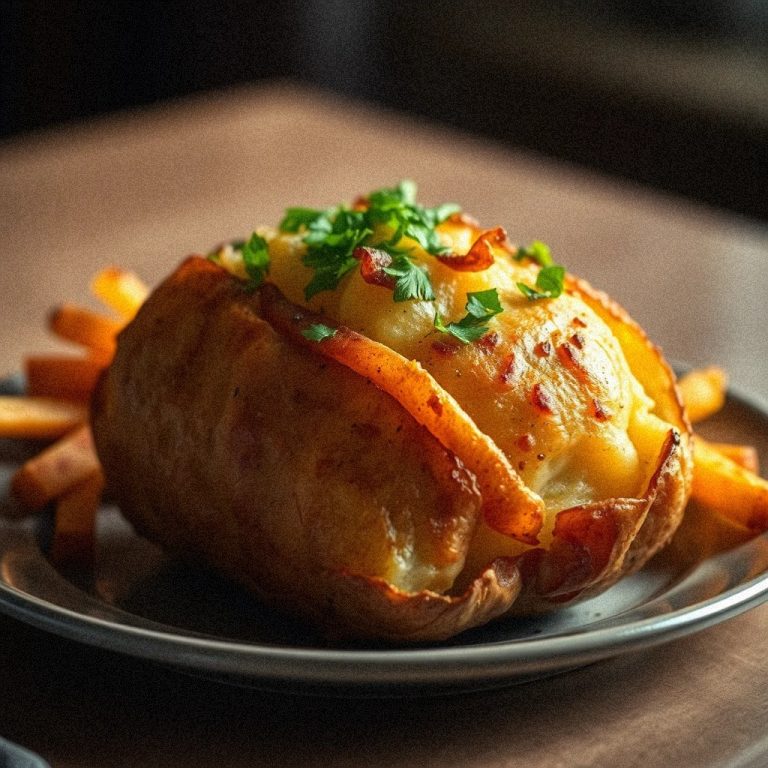
- Crispy Fries: Since the air fryer is already out, you can make frozen french fries or sweet potato wedges while the chicken rests.
- Fresh Veggies: To balance out the meal, serve these with some carrot sticks, cucumber slices, or a simple green salad. Steam broccoli is also a great choice.
- The Sauces: You cannot have chicken tenders without the dip! Set up a “sauce bar” with small bowls of Ranch dressing, Honey Mustard, BBQ sauce, and Ketchup. Mixing BBQ sauce and mayonnaise together makes a secret “fry sauce” that is delicious!
Helpful Pro Tips and Tricks
I want to make sure your chicken comes out perfect the very first time. Here are a few secrets I have learned along the way:
- Don’t Be Shy with the Spray: If you see any white flour spots on your chicken after flipping it, spray those spots with oil immediately. White spots mean dry, floury bites, and we want crunchy, golden bites!
- Press the Crumbs: When you dip the chicken in the breadcrumbs, really press down with your hand. This packs the crumbs onto the meat so they don’t fall off in the air fryer basket.
- The Pickle Juice Trick: Want your chicken to taste like that famous fast-food chain? Marinate the raw chicken tenders in pickle juice for 30 minutes before you start. It makes the meat super tender and adds a great tang!
- Check the Temp: The safest way to know if chicken is done is to use a meat thermometer. Stick it into the thickest part of the tender. If it says 165°F (74°C), it is ready to eat.
Frequently Asked Questions

Can I put frozen chicken tenders in the air fryer?
Yes, you can! If you buy the pre-made frozen kind from the store, you usually need to cook them for about 10-12 minutes at 400°F. If you are cooking raw frozen chicken, it is better to thaw it first so the breading sticks properly.
Why is my breading falling off?
This usually happens if the chicken was too wet before you started, or if you skipped the flour step. Pat the raw chicken dry with a paper towel first. Also, make sure you do the order right: Flour, then Egg, then Breadcrumbs. The flour helps the egg stick, and the egg helps the crumbs stick.
Can I stack the chicken in the basket?
No, please don’t stack them! An air fryer works by blowing hot air around the food. If you stack the tenders, the air can’t get to the ones in the middle, and they will be soggy and pale. Cook in two batches if you need to.
Do I have to use Panko breadcrumbs?
You don’t have to, but I highly recommend it. Regular breadcrumbs are very fine and can get a little mushy. Panko crumbs are bigger and flakier, which gives you that loud “crunch” when you bite in.
Last Bites
I hope you are excited to try these Air Fryer Chicken Tenders! They truly are a game-changer for busy weeknights. You get all the comfort of a fried meal without the heavy oil or the mess. Whether you are cooking for picky kids or just want a tasty treat for yourself, this recipe delivers big flavor and a perfect crunch every time.
Give it a try tonight, and let me know how it goes. I bet there won’t be any leftovers!
PrintCrispy Air Fryer Chicken Tenders

- Prep Time: 15
- Cook Time: 12
- Total Time: 27
- Yield: 4 Servings 1x
- Category: Dinner
- Method: Air Fryer
- Cuisine: American
Ingredients
Scale
- 1 lb Chicken Tenderloins (approx. 450g)
- 1 cup Panko Breadcrumbs (60g)
- 1/2 cup All-Purpose Flour (60g)
- 2 large Eggs, beaten
- 1 tsp Garlic Powder
- 1 tsp Paprika (smoked or sweet)
- 1/2 tsp Onion Powder
- 1/2 tsp Salt (plus more to taste)
- 1/4 tsp Black Pepper
- Olive Oil Spray or Avocado Oil Spray
Instructions
- Preheat: Set your air fryer to 400°F (200°C).
- Prep Station: Set up three bowls: one for seasoned flour, one for beaten eggs, and one for seasoned Panko breadcrumbs.
- Dip & Coat: Dredge chicken in flour, dip in egg, then press into breadcrumbs.
- Arrange: Place chicken in the basket in a single layer. Do not overcrowd.
- Cook: Spray tops with oil. Cook for 10-12 minutes total, flipping halfway through and spraying any dry spots with oil.
- Serve: Remove when golden brown and crispy. Let cool for a minute and enjoy!
Nutrition
- Serving Size: 4
- Calories: 280 kcal
- Sodium: 550mg
- Fat: 6g
- Carbohydrates: 22g
- Fiber: 1g
- Protein: 32g