The Best Fluffy Pancakes recipe you will fall in love with. Full of tips and tricks to help you make the best pancakes.

Have you ever had a sudden craving for chocolate cake late at night, but you didn’t want to bake a whole big cake? I have definitely been there! Usually, we turn to the microwave for a quick fix, but let’s be honest—microwave cakes can sometimes taste a little rubbery or spongy. That is exactly why I started making my mug cake in the air fryer. It changes everything!
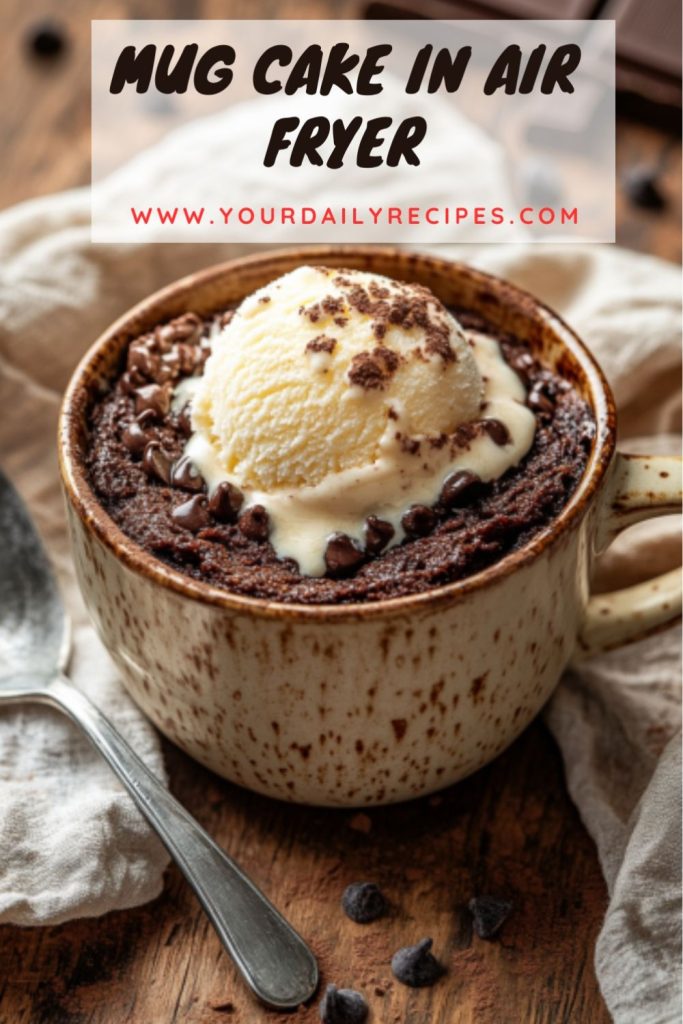
This recipe creates a rich, chocolatey cake that is soft and gooey on the inside but has a slightly crispy top, just like a brownie fresh from the oven. It is the perfect size for just one person. Plus, it is super easy to whip up. You just mix a few simple ingredients in a mug and let the air fryer do the work.
In this post, I am going to show you how to make the best single-serving dessert you have ever tasted. It is warm, comforting, and packed with deep chocolate flavor. Whether you are treating yourself after a long day or making a quick snack for the kids, this air fryer mug cake is going to be your new favorite trick.
General Information
| Particulars | Details |
|---|---|
| Preparation Time | 5 min. |
| Cook Time | 10 min. |
| Total Time | 15 min. |
| Yields | 1 servings |
| Difficulty | Easy |
| Total Calories | 540 kcal (Per Serving) |
| Cuisine | American |
Why You’ll Love This Recipe
If you love chocolate and easy treats, this recipe is going to make you very happy. Here are a few reasons why this little cake is a total winner:
- Better Texture Than Microwave: Because the air fryer works like a mini oven, it bakes the cake properly. You get a nice crust on top and a fluffy inside, not a gummy mess.
- Perfect Portion Control: This makes just one serving, so you don’t have a whole tray of leftover brownies tempting you on the counter for days.
- Simple Pantry Ingredients: You do not need anything fancy. You likely have flour, sugar, and cocoa powder in your kitchen right now.
- Minimal Cleanup: You mix the batter right in the mug you cook it in. That means there is only one dish to wash!
- Kid-Friendly: It is so simple to mix up that kids can easily help measure and stir (with a little supervision near the hot air fryer, of course).
Here’s what you will need
The magic of this recipe is in its simple, wholesome ingredients. You likely have everything you need in your kitchen already to make this delicious, cake-like dessert!
- All-Purpose Flour – This gives the cake its structure. It holds everything together so you get a real cake texture, not a pudding.
- Cocoa Powder – This is where that deep chocolate flavor comes from. Make sure you use unsweetened cocoa powder for the best taste.
- Sugar – We need a little sweetness to balance out the bitter cocoa. You can use regular white sugar here.
- Baking Powder – This is the secret ingredient that makes the cake rise and get fluffy. Without it, your cake would be flat and heavy.
- Milk – This adds moisture to the batter. You can use any milk you have in the fridge, like dairy milk, almond milk, or oat milk.
- Oil or Melted Butter – This keeps the cake moist and tender. Vegetable oil works great, but melted butter adds a rich flavor.
- Chocolate Chips – These are optional, but I highly recommend them! They melt while cooking to create little pockets of gooey chocolate lava.
How to Make This Dish: Step-by-Step Guide
Making this cake is really simple. You don’t even need a mixer or a big bowl. We are going to build the whole cake right inside your favorite mug!
- Get Ready: First, preheat your air fryer to 350°F (175°C). While it warms up, pick a microwave-safe ceramic mug (about 8-10 oz size works best). Lightly spray the inside with cooking spray or rub a little butter on it. This makes sure your cake doesn’t get stuck to the sides.
- Mix Dry Ingredients: Put the flour, sugar, cocoa powder, baking powder, and that tiny pinch of salt right into the mug. Use a small spoon or fork to stir them together until they are all one color. You don’t want any big clumps of flour hiding in there!
- Add Wet Ingredients: Now, pour in the milk, oil (or melted butter), and vanilla extract. Stir gently but thoroughly. Make sure you scrape the bottom edges of the mug with your spoon so no dry flour is left behind. The batter should look dark, smooth, and glossy.
- Add the Good Stuff: If you are using chocolate chips, sprinkle them on top or stir them into the batter now. This gives you those melty chocolate pockets we talked about.
- Time to Cook: Carefully place the mug into the air fryer basket. Air fry for 10 to 12 minutes.
- Pro Tip: Check it at 10 minutes. A toothpick stuck in the center should come out mostly clean, maybe with a few moist crumbs attached. If it looks like raw liquid, cook it for another 1-2 minutes.
- Cool Down: This is the hardest part—waiting! The mug will be extremely hot. Use an oven mitt to take it out. Let the cake cool on the counter for about 2 to 3 minutes. This helps the texture set so it isn’t too mushy, and it keeps you from burning your tongue!
How to Store, Reheat and Freeze
To be honest, this mug cake tastes best right when you make it. It is warm, gooey, and perfect. But, if you cannot finish it all, here is what to do.
Storage:
- Fridge: If you have leftovers, cover the top of the mug tightly with plastic wrap or foil. You can keep it in the refrigerator for up to 1 day. After that, it might get a little dry.
- Freezer: I do not recommend freezing this cake. Since it is so small and made in a mug, freezing it makes the texture tough and rubbery. It is so fast to make a fresh one that you don’t need to freeze it!
Reheating:
- Microwave (Best Way): To warm it up, just pop the mug in the microwave for 15 to 20 seconds. It will be soft and warm again instantly.
- Air Fryer: You can put it back in the air fryer at 300°F (150°C) for 2-3 minutes, but be careful—the mug will get very hot again!
Variations to Try
One of the best things about this recipe is that you can change it up to match your mood. Here are three fun ways to twist the flavor:
- The Nutty Swirl: Before cooking, drop a tablespoon of peanut butter or almond butter right into the center of the batter. Do not stir it in completely; just give it a little swirl. When you bake it, you will have a warm, nutty center.
- Mint Chocolate Chip: If you love mint, add just a tiny drop (1/8 tsp) of peppermint extract along with the vanilla. Use mint chocolate chips instead of regular ones. It tastes just like a warm peppermint patty!
- Mexican Hot Chocolate: Give your cake a little “kick” by adding a pinch of cinnamon and a tiny dash of cayenne pepper. The spice mixes with the chocolate to warm you up from the inside out.
- Vegan Friendly: This recipe is already egg-free! To make it fully vegan, just make sure you use a plant-based milk (like almond or oat) and use oil instead of butter. Also, check your chocolate chips to make sure they are dairy-free.
What To Serve With This Dish
This cake is delicious on its own, but toppings make it feel like a fancy restaurant dessert. Here are my favorite things to serve with it:
- Vanilla Ice Cream: This is the ultimate partner. Putting a cold scoop of vanilla ice cream on top of the hot cake creates a perfect mix of hot and cold. As the ice cream melts, it creates a creamy sauce.
- Whipped Cream: A big dollop of whipped cream makes the cake feel light and airy. You can dust a little extra cocoa powder on top to make it look professional.
- Fresh Berries: Fresh strawberries or raspberries are great because their tart flavor cuts through the rich sweetness of the chocolate. Plus, the red berries look beautiful against the dark cake.
- A Glass of Milk: Sometimes, simple is best. A tall glass of cold milk is perfect for washing down a rich, chocolatey bite.
Helpful Pro Tips and Tricks
I want your mug cake to be perfect on the very first try. Here are a few secrets I have learned while making this recipe:
- Pick the Right Mug: Not all mugs can handle the heat! Make sure your mug says “oven safe” or is made of sturdy ceramic. Do not use plastic or thin glass, as they might melt or crack in the air fryer.
- Don’t Fill It to the Top: This cake rises a lot while it cooks! Only fill your mug about halfway full. If you fill it to the rim, the batter will spill over and make a mess in your air fryer.
- Do Not Overmix: When you add the wet ingredients, stir just until the flour disappears. If you stir it too much, the cake will become tough and chewy instead of soft and fluffy.
- Check Early: Every air fryer is a little different. Check your cake at the 10-minute mark. If it looks dry on top, take it out. If it is still very jiggly, give it another minute.
Frequently Asked Questions

Can I make this in the microwave instead?
Yes, you can! If you are in a super big hurry, you can microwave this mug for about 60 to 90 seconds. However, the air fryer is better because it gives you a nice, crispy top that the microwave cannot make.
Why did my cake turn out hard?
This usually happens for two reasons. First, you might have cooked it for too long. Second, you might have stirred the batter too hard. Next time, stir gently and check the cake a minute earlier!
Can I double this recipe?
You cannot fit double the batter in one mug, or it will overflow. However, you can definitely make two separate mugs at the same time! Just put both mugs in the air fryer basket together. You might need to add 1 or 2 extra minutes to the cooking time.
Is this recipe gluten-free?
It can be! Simply swap the regular flour for a “1-to-1” Gluten-Free flour blend. The texture will still be delicious.
Last Bites
I really hope you give this Air Fryer Mug Cake a try. It is honestly the ultimate “emergency dessert.” It is rich, chocolatey, and ready in minutes without making a huge mess in the kitchen. Whether you are studying late, watching a movie, or just need a little sweet treat, this cake is the perfect solution.
If you make it, I would love to see it! Take a picture and tag me on social media, or leave a comment below telling me what mix-ins you used. Happy baking!
PrintAir Fryer Chocolate Mug Cake

- Prep Time: 5
- Cook Time: 10
- Total Time: 15
- Yield: 1 Person 1x
- Category: Dessert
- Method: Air Fryer
- Cuisine: American
Ingredients
Scale
- 4 tbsp All-Purpose Flour (30g)
- 2 tbsp Unsweetened Cocoa Powder (15g)
- 3 tbsp Granulated Sugar (38g)
- 1/2 tsp Baking Powder
- 1 pinch Salt
- 1/4 cup Milk (60ml) (Dairy or plant-based)
- 2 tbsp Vegetable Oil or Melted Butter (30ml)
- 1/4 tsp Vanilla Extract
- Optional Mix-ins: 1 tbsp chocolate chips (semi-sweet or dark)
- Cooking spray for greasing the mug
Instructions
- Preheat: Set your air fryer to 350°F (175°C). Grease a microwave-safe mug.
- Mix Dry: In the mug, whisk together flour, sugar, cocoa powder, baking powder, and salt.
- Mix Wet: Add milk, oil/butter, and vanilla. Stir until smooth. Add chocolate chips if desired.
- Cook: Place the mug in the air fryer basket. Cook for 10-12 minutes.
- Cool: Carefully remove the hot mug and let it sit for 2-3 minutes before eating.
Nutrition
- Serving Size: 1
- Calories: 540 kcal
- Sodium: 320mg
- Fat: 28g
- Carbohydrates: 72g
- Fiber: 4g
- Protein: 7g