The Best Fluffy Pancakes recipe you will fall in love with. Full of tips and tricks to help you make the best pancakes.


Oh, how I adore crispy fried pickles! There’s something magical about that golden, crunchy coating paired with the tangy, juicy pickle inside. Whether I’m hosting a game night, throwing a backyard barbecue, or just craving a fun snack, fried pickles never fail to steal the show. In this blog post, I’m sharing my ultimate guide to making the crispiest, most delicious fried pickles right in your kitchen. This recipe is easy to follow, even for beginners, and I’ve packed it with tips to make your pickles a hit. Let’s dive into the world of fried pickles and create a snack that’s sure to impress!
Introduction
Overview of Fried Pickles
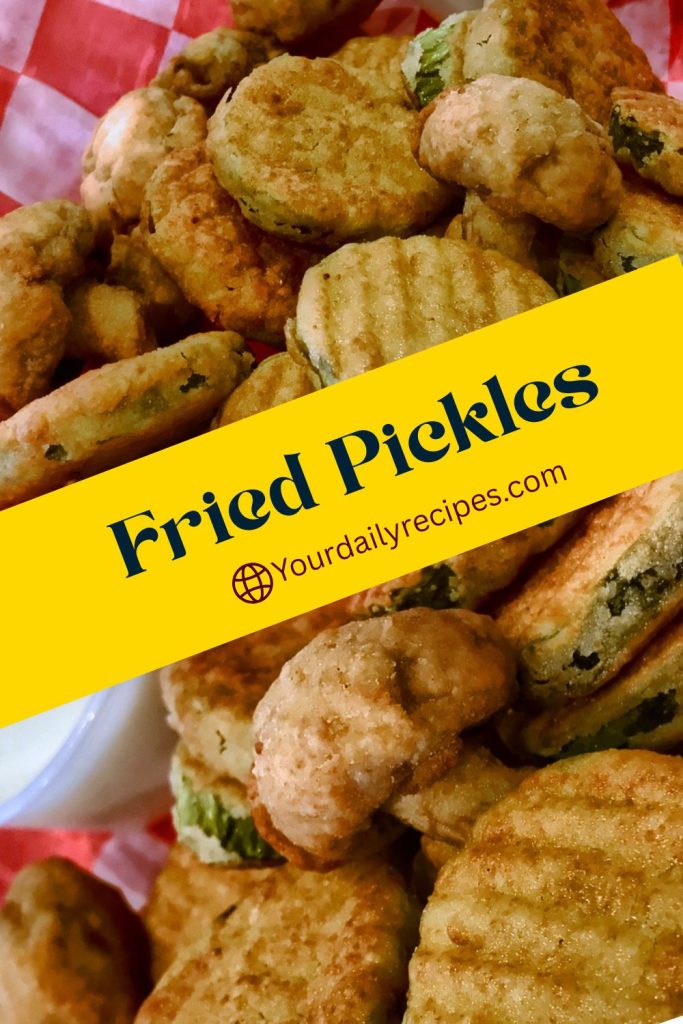
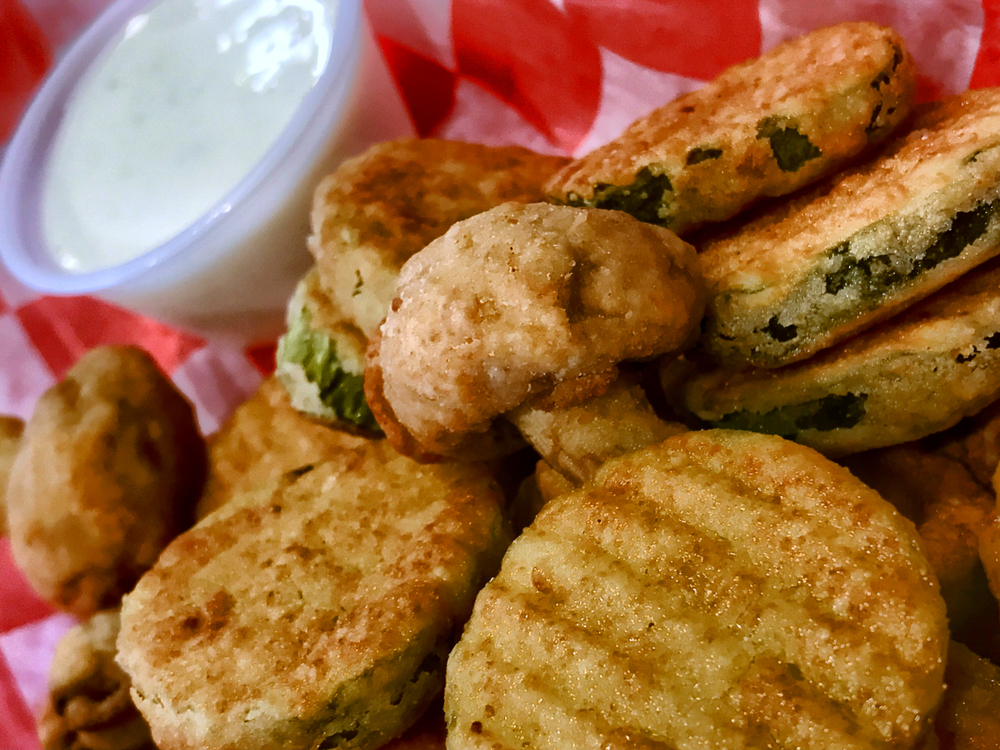
I love making crispy fried pickles at home! These golden, crunchy treats are the perfect mix of salty, tangy, and crispy. When you bite into one, you get that satisfying crunch followed by the burst of pickle flavor that makes your mouth water.
Fried pickles are basically pickle slices or spears that get coated in a special batter and then fried until they’re golden brown. The outside becomes super crispy while the pickle inside stays juicy and tangy. It’s like the best of both worlds!
History and Popularity
Fried pickles started in the southern United States back in the 1960s. A restaurant owner in Arkansas first came up with this crazy idea, and it caught on fast! Now you can find them at fairs, restaurants, and sports bars all across America.
I remember the first time I tried fried pickles at a county fair. I thought it sounded weird, but one bite and I was hooked! They’ve become super popular because they’re fun to eat and taste amazing.
Why Make Crispy Fried Pickles at Home?
Making fried pickles at home is way better than buying them at restaurants. Here’s why I always make mine from scratch:
First, I can control how crispy they get. Restaurant ones sometimes come out soggy, but mine are always perfect. Second, I save money! A batch at home costs about half of what you’d pay at a restaurant. Third, I can make them exactly how I like them – extra crispy, with my favorite seasonings, and as spicy or mild as I want.
Plus, it’s really fun to make them with family and friends. Everyone gets excited when they smell them frying!
The Anatomy of a Perfect Fried Pickle: Crispiness, Tang, and Flavor
A perfect fried pickle has three important parts. The coating should be super crispy and golden brown – not soggy or too thick. The pickle inside should still have that tangy, sour taste that makes pickles so good. And the whole thing should have great flavor from the seasonings in the batter.
When I make them right, each bite gives you that perfect crunch sound, followed by the juicy pickle taste, and then all the yummy flavors from the spices. That’s what makes people keep coming back for more!
Ingredients
Pickle Selection
Types of Pickles (Dill, Bread-and-Butter, etc.)
I’ve tried lots of different pickles for frying, and here are my favorites:
Dill pickles are the most popular choice. They have that classic sour, garlicky taste that works great with the crispy coating. I use them most of the time because everyone loves them.
Bread-and-butter pickles are sweeter and milder. They’re good if you have kids who don’t like really sour things. The sweet taste goes really well with spicy coatings.
Kosher dill pickles are my top pick! They’re usually crispier than regular dills and have more flavor. They also hold up better when you fry them.
Fresh vs. Store-Bought Pickles
I usually use store-bought pickles because they’re easy to find and already have the right amount of sourness. Look for pickles that feel firm when you press on the jar. Soft pickles will get mushy when you fry them.
If you have homemade pickles, they work great too! Just make sure they’ve been pickled for at least a week so they have enough sour flavor.
Breading and Batter Components
Flour Options (All-Purpose, Cornmeal, etc.)
For the crispiest coating, I mix different types of flour:
All-purpose flour is the base. It helps everything stick together and makes the coating smooth. I use about 1 cup for a big batch.
Cornmeal adds extra crunch! I add about 1/2 cup of yellow cornmeal to my flour mix. It makes the coating more interesting and gives it a slightly sweet taste.
Sometimes I add a little bit of rice flour too. It makes things super crispy, but you don’t need it if you can’t find it.
Binding Agents (Eggs, Buttermilk, etc.)
To make the coating stick to the pickles, I use:
Buttermilk is my favorite! It makes the coating tangy and helps it get really crispy. I use about 1 cup for a big batch. If you don’t have buttermilk, you can make your own by adding 1 tablespoon of vinegar to regular milk.
Eggs help everything stick together. I use 2 beaten eggs mixed with the buttermilk.
Some people use beer instead of buttermilk. It makes the coating light and bubbly, but I think buttermilk tastes better.
Seasonings and Flavor Enhancers
Here are the seasonings I always add to my flour mixture:
- 1 teaspoon garlic powder
- 1 teaspoon onion powder
- 1 teaspoon paprika
- 1/2 teaspoon black pepper
- 1/2 teaspoon salt
- 1/4 teaspoon cayenne pepper (if you like it spicy)
These make the coating taste amazing instead of just plain and boring.
Oil for Frying
Best Oils for High-Heat Frying
I always use vegetable oil or canola oil for frying pickles. These oils can get really hot without burning, and they don’t add weird flavors to the food.
Peanut oil is also great if you’re not allergic to peanuts. It makes things extra crispy and tastes good.
Don’t use olive oil for deep frying! It can’t handle the high heat and will smoke up your kitchen.
Oil Alternatives and Considerations
You’ll need enough oil to cover the pickles completely – usually about 4-6 cups for deep frying. That might seem like a lot, but you can reuse the oil a few times if you strain it and store it properly.
If you want to use less oil, you can pan fry them in a skillet with about 1 inch of oil, but they won’t get as evenly crispy.
Optional Ingredients for Variations
To make your fried pickles extra special, you can add:
- Hot sauce to the buttermilk mixture for spicy pickles
- Dried herbs like dill or oregano to the flour
- Parmesan cheese powder for a cheesy flavor
- Lemon zest for a fresh taste
Equipment Needed
Essential Kitchen Tools
Here’s what I use every time I make fried pickles:
- Large mixing bowls (at least 2)
- Measuring cups and spoons
- Sharp knife for slicing pickles
- Cutting board
- Wire cooling rack
- Paper towels
- Tongs or slotted spoon
- Thermometer for checking oil temperature
Frying Equipment (Deep Fryer, Skillet, etc.)
You can use different types of pots for frying:
A deep fryer is the easiest option. It keeps the oil at the right temperature automatically, and you don’t have to watch it as closely.
A heavy pot or Dutch oven works great too. Make sure it’s deep enough that the oil won’t bubble over when you add the pickles.
A large skillet can work for pan frying, but you need to flip the pickles to cook both sides.
Safety Gear and Setup
Safety is super important when frying! Here’s what I always do:
Keep a lid nearby to cover the pot if the oil starts to smoke or bubble too much. Never use water on a grease fire!
Wear clothes that cover your arms so you don’t get splattered by hot oil.
Keep kids and pets away from the cooking area.
Have a fire extinguisher nearby, just in case.
Preparation Steps
Preparing the Pickles
Slicing Techniques
I like to slice my pickles about 1/4 inch thick. This gives you enough pickle flavor but isn’t too thick to cook through. If you slice them too thin, they’ll get mushy. Too thick, and the coating might burn before the inside heats up.
For pickle spears, I cut regular pickles into 4 long pieces. These are fun to eat and hold their shape well.
Drying Pickles for Optimal Crispiness
This step is really important! Wet pickles will make your coating soggy and won’t stick well.
After slicing, I lay the pickles on paper towels and pat them dry. Then I let them sit for about 10 minutes to air dry. Sometimes I even put them in the fridge for 30 minutes to get them really dry.
Making the Batter
Wet Batter Preparation
In one bowl, I mix together:
- 1 cup buttermilk
- 2 beaten eggs
- 1 tablespoon hot sauce (optional)
I whisk this until it’s smooth and there are no egg chunks floating around.
Dry Breading Mixture
In another bowl, I combine:
- 1 cup all-purpose flour
- 1/2 cup cornmeal
- 1 teaspoon garlic powder
- 1 teaspoon onion powder
- 1 teaspoon paprika
- 1/2 teaspoon salt
- 1/2 teaspoon black pepper
- 1/4 teaspoon cayenne pepper
I mix this really well so all the spices are spread evenly.
Setting Up the Frying Station
Oil Temperature Control
The oil needs to be exactly 375°F for perfect fried pickles. If it’s too hot, the outside will burn before the inside gets warm. If it’s too cool, they’ll be greasy and soggy.
I always use a thermometer to check the temperature. Some people test by dropping a small piece of batter in the oil – it should sizzle and float up right away if the oil is ready.
Workstation Organization
I set up everything in order: dried pickles, wet batter bowl, dry mixture bowl, and then the hot oil. This way I can work quickly and efficiently.
I also set up my cooling rack with paper towels underneath to catch drips. Having everything ready makes the process much smoother.
Cooking Process
Breading the Pickles
Single vs. Double Breading
For extra crispy pickles, I do double breading. This means I dip each pickle slice in the wet mixture, then the dry mixture, then back in the wet mixture, and finally in the dry mixture again.
Single breading is faster and still tastes good, but double breading gives you that extra thick, crunchy coating that makes restaurant-style fried pickles.
Tips for Even Coating
I use one hand for wet ingredients and one hand for dry ingredients. This keeps my hands from getting all gooey and makes the coating more even.
I shake off extra batter before putting pickles in the flour mixture. Too much wet batter makes clumpy coatings.
Frying Techniques
Deep Frying Method
This is my favorite way to make fried pickles! I heat the oil to 375°F and carefully lower the coated pickles into the hot oil using tongs. I don’t crowd the pot – usually 6-8 pieces at a time.
They take about 2-3 minutes to turn golden brown. I flip them halfway through if they’re not floating and turning by themselves.
Pan Frying Method
If you don’t have enough oil for deep frying, you can pan fry in a skillet with about 1 inch of oil. Cook them for about 2 minutes on each side until golden brown.
This method uses less oil but takes longer since you have to flip them and cook smaller batches.
Air Frying Alternative
For a healthier version, I spray the coated pickles with cooking oil and air fry them at 400°F for about 8-10 minutes. They’re not quite as crispy as deep fried, but they’re still really good and use way less oil.
Monitoring and Adjusting Cooking Time
I watch the pickles carefully while they cook. They should turn golden brown evenly. If one side is browning too fast, I adjust the heat or flip them more often.
The coating should sound crispy when you tap it with tongs. If it looks pale or sounds soft, they need more time.
Draining and Cooling
As soon as they’re golden brown, I lift them out with tongs or a slotted spoon and put them on the wire rack. This lets excess oil drip off and keeps them crispy.
I never put them on paper towels right away because they might get soggy on the bottom.
Serving Suggestions
Dipping Sauces
Classic Ranch Dip
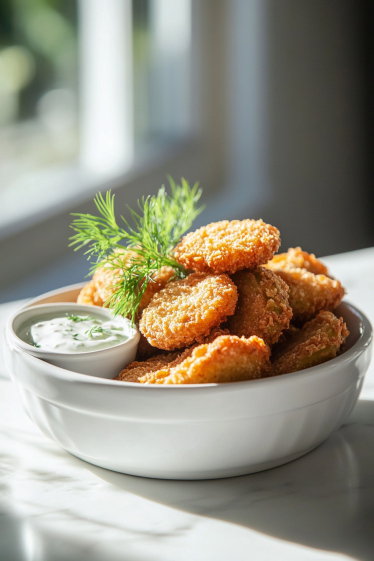
Ranch dressing is the most popular dip for fried pickles. The creamy, herby flavor goes perfectly with the crispy, tangy pickles. I like to make homemade ranch with mayonnaise, sour cream, garlic powder, onion powder, dried dill, and a little milk to thin it out.
Spicy Sriracha Mayo
For people who like heat, I mix mayonnaise with sriracha sauce and a squeeze of lime juice. This creamy, spicy dip adds a kick that makes the pickles even more exciting.
Other Complementary Sauces
Other great dipping sauces include:
- Honey mustard for a sweet and tangy combo
- Thousand island dressing for a classic taste
- Chipotle mayo for smoky heat
- Blue cheese dressing for bold flavor
Pairing with Main Dishes
Fried pickles make a great appetizer or side dish. They go really well with burgers, fried chicken, pulled pork sandwiches, and fish and chips. I also serve them at parties with other finger foods.
Presentation Tips
I like to serve fried pickles on a big platter with small bowls of different dipping sauces around the edge. This lets everyone try different flavors and makes it look fancy.
Garnishes and Finishing Touches
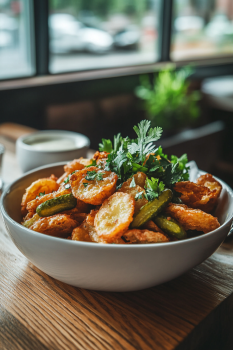
A sprinkle of fresh chopped parsley or green onions makes them look more colorful. Sometimes I add a light dusting of parmesan cheese while they’re still hot so it melts slightly.
Variations and Customizations
Spicy Fried Pickles
To make spicy fried pickles, I add extra cayenne pepper to the flour mixture and mix hot sauce into the buttermilk. I also like to use spicy pickles instead of regular dill pickles for double the heat.
Sweet and Tangy Variations
Using bread-and-butter pickles instead of dill creates a sweet and tangy version that kids love. I sometimes add a pinch of sugar to the flour mixture to enhance the sweetness.
International Flavor Twists
For Asian-inspired pickles, I add ginger powder and sesame seeds to the coating. For Mexican flavor, I use chili powder and cumin in the flour mixture and serve with spicy mayo.
Dietary Modifications
Gluten-Free Options
I can make gluten-free fried pickles by using rice flour and cornmeal instead of regular flour. They turn out just as crispy and taste great.
Vegan Alternatives
For vegan pickles, I replace the buttermilk with plant-based milk mixed with vinegar, and skip the eggs. The coating isn’t quite as thick but still works well.
Low-Carb Versions
Instead of flour, I use crushed pork rinds or almond flour for a low-carb coating. These create a different texture but still taste really good.
Storage and Reheating
Short-Term Storage
Fried pickles are best eaten right away, but you can store leftovers in the refrigerator for up to 2 days. I put them in a container with paper towels to absorb moisture.
Freezing Instructions
You can freeze coated pickles before frying them. Just lay them on a baking sheet, freeze until solid, then store in freezer bags for up to 3 months. Fry them straight from frozen – they’ll just take a minute longer.
Reheating Methods
Oven Reheating
The best way to reheat fried pickles is in a 400°F oven for about 5-7 minutes. This makes them crispy again without drying them out.
Air Fryer Reheating
Air fryers work great for reheating! Just 3-4 minutes at 375°F and they’re like new again.
Toaster Oven Method
A toaster oven works just like a regular oven but heats up faster. Use the same temperature and time as the regular oven method.
Quality Maintenance Tips
Never reheat fried pickles in the microwave – they’ll get soggy and gross. Always use dry heat methods to keep them crispy.
Troubleshooting Common Issues
Soggy Coating Issues
If your coating is soggy, the pickles were probably too wet when you coated them, or the oil wasn’t hot enough. Always dry pickles thoroughly and check oil temperature with a thermometer.
Uneven Browning
Uneven browning usually happens when you crowd too many pickles in the oil at once, or the oil temperature isn’t consistent. Cook smaller batches and monitor the heat carefully.
Oil Temperature Problems
If your oil gets too hot, turn down the heat and let it cool slightly. If it’s not hot enough, the pickles will absorb too much oil and be greasy.
Coating Adherence Issues
When coating falls off, it’s usually because the pickles weren’t dry enough or you didn’t press the coating on firmly. Pat pickles very dry and press coating gently but firmly.
Overcooking vs. Undercooking
Overcooked pickles have dark brown, bitter coatings. Undercooked ones have pale, soft coatings. Aim for golden brown color and crispy texture.
Nutritional Information
Calorie and Macronutrient Breakdown
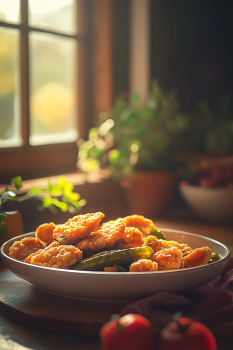
Fried pickles are a treat food, so they’re higher in calories than regular pickles. A serving of about 6 pieces has approximately 250-300 calories, mostly from the oil and coating.
Healthier Modifications
To make them healthier, you can air fry instead of deep fry, use whole wheat flour in the coating, or serve smaller portions with lots of fresh vegetables.
Dietary Considerations (Low-Sodium, Low-Fat, etc.)
Pickles are naturally high in sodium, so people watching their salt intake should eat them in moderation. The frying process adds fat, but you can reduce this by proper draining and air frying.
Tips and Tricks
Achieving Maximum Crispiness
For the crispiest pickles, make sure your oil is at the right temperature, don’t overcrowd the pot, and let them drain properly on a wire rack. Double breading also helps create extra crunch.
Time-Saving Hacks
You can bread the pickles ahead of time and keep them in the refrigerator for up to 4 hours before frying. This actually helps the coating stick better and saves time when you’re ready to cook.
Enhancing Flavor Profiles
Try different pickle varieties, add your favorite spices to the coating, or marinate the pickles in buttermilk for 30 minutes before breading for extra flavor.
Safety Considerations
Safe Handling of Hot Oil
Never leave hot oil unattended, and always heat it gradually. Keep a lid nearby to smother any flare-ups, and never use water on a grease fire.
Preventing Kitchen Accidents
Wear appropriate clothing (no loose sleeves), keep your work area clean and dry, and have a first aid kit accessible. Always turn pot handles away from walkways.
Cleanup and Oil Disposal
Let oil cool completely before disposing of it. Never pour oil down the drain – instead, let it solidify and throw it in the trash, or take it to a recycling center that accepts cooking oil.
Frequently Asked Questions

Can I use frozen pickles?
Fresh or refrigerated pickles work best. Frozen pickles get mushy when thawed and won’t stay crispy when fried.
What’s the best way to dispose of used frying oil?
Let the oil cool completely, then strain it and store it for reuse, or dispose of it in the trash. Many recycling centers also accept used cooking oil.
Can I make the batter ahead of time?
You can mix the dry ingredients ahead of time, but the wet batter is best made fresh. The coating also sticks better when everything is freshly mixed.
How do I prevent oil splatters?
Make sure pickles are as dry as possible before coating and frying. Lower them into the oil gently with tongs, and don’t overcrowd the pot.
Are fried pickles healthy?
Fried pickles are a treat food that’s high in calories and fat. They’re fine to enjoy occasionally as part of a balanced diet, but they’re not health food.
Can I freeze the coated pickles before frying?
Yes! Coated pickles freeze well for up to 3 months. You can fry them straight from frozen – just add an extra minute to the cooking time.
What if I don’t have a deep fryer?
A heavy pot or Dutch oven works just as well as a deep fryer. You just need to monitor the temperature more carefully with a thermometer.
Conclusion: Enjoying Your Perfect Crispy Fried Pickles
Making crispy fried pickles at home is easier than you might think, and the results are so much better than store-bought versions. With the right technique and a little practice, you’ll be making restaurant-quality fried pickles that will impress your family and friends.
Remember the key points: dry your pickles well, keep your oil at the right temperature, don’t overcrowd the pot, and drain them properly. Once you master these basics, you can experiment with different flavors and coatings to make them your own.
I hope you enjoy making and eating these delicious crispy fried pickles as much as I do. They’re perfect for parties, game day snacks, or just when you want something crunchy and satisfying. Happy cooking!
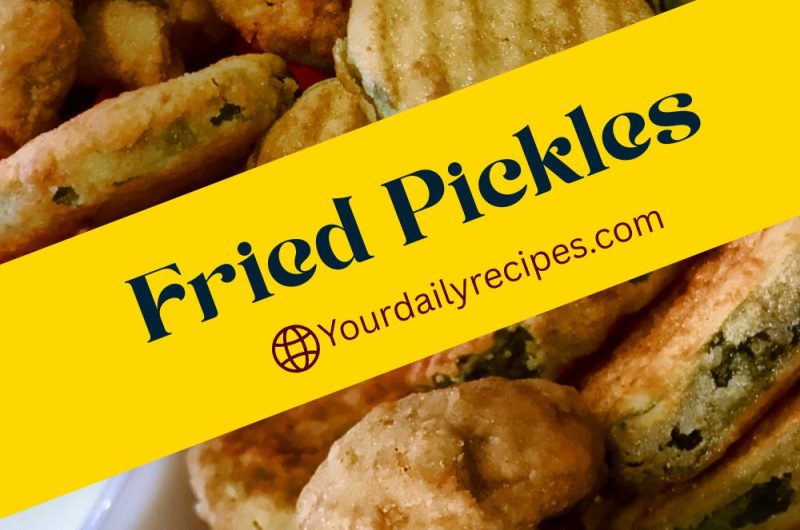
Crispy Fried Pickles Recipe: A Crunchy, Tangy Delight You’ll Love!
Course: AppetizersCuisine: AmericanDifficulty: EasyServings
24-30 pickle slices
servingsPrep time
20
minutesCooking time
15
minutesCalories
280
kcalIngredients
For the Pickles:
2 large dill pickles (or 1 jar of pickle chips), sliced 1/4 inch thick
Paper towels for drying
For the Wet Batter:
1 cup buttermilk
2 large eggs, beaten
1 tablespoon hot sauce (optional)
For the Dry Coating:
1 cup all-purpose flour
1/2 cup yellow cornmeal
1 teaspoon garlic powder
1 teaspoon onion powder
1 teaspoon paprika
1/2 teaspoon salt
1/2 teaspoon black pepper
1/4 teaspoon cayenne pepper
For Frying:
4-6 cups vegetable oil or canola oil
Directions
- Prepare the pickles: Slice pickles into 1/4 inch thick rounds. Lay them on paper towels and pat completely dry. Let air dry for 10 minutes.
- Heat the oil: Pour oil into a heavy pot or deep fryer. Heat to exactly 375°F using a thermometer.
- Make wet batter: In a bowl, whisk together buttermilk, beaten eggs, and hot sauce until smooth.
- Make dry coating: In another bowl, mix flour, cornmeal, garlic powder, onion powder, paprika, salt, pepper, and cayenne pepper.
- Set up breading station: Arrange dried pickles, wet batter bowl, and dry coating bowl in order near the hot oil.
- Bread the pickles: Dip each pickle slice in wet batter, let excess drip off, then coat in dry mixture, pressing gently to stick.
- Fry the pickles: Carefully lower 6-8 coated pickles into hot oil using tongs. Don’t overcrowd the pot.
- Cook until golden: Fry for 2-3 minutes until golden brown and crispy. They should float to the surface when done.
- Drain properly: Remove with tongs or slotted spoon and place on wire cooling rack to drain excess oil.
- Serve immediately: Serve hot with ranch dressing, spicy mayo, or your favorite dipping sauce.
Notes
- Pro Tips: Keep oil temperature steady at 375°F, don’t skip the drying step, and serve immediately for maximum crispiness!